Another Epic encounter. I bring out the Necrons this time, using the Sautekh list which I haven't used before.
Incompertus, 4000 POINTS
Necron Sautekh Legion (Developmental V1.0)
==================================================
WARRIOR PHALANX [325]
9 Sautekh Warrior unit, Cryptek character, Necron Lord
WARRIOR PHALANX [200]
Necron Lord, 6 Sautekh Warrior unit
WARRIOR PHALANX [200]
Necron Lord, 6 Sautekh Warrior unit
WARRIOR PHALANX [300]
7 Sautekh Warrior unit, Necron Overlord
IMMORTAL PHALANX [275]
Necron Lord, 6 Immortal units
IUDICIUM MANIPLE [250]
5 Doomsday Ark units
MONOLITH MANIPLE [250]
2 Monolith, Monolith
MONOLITH MANIPLE [250]
2 Monolith, Monolith
MONOLITH MANIPLE [250]
2 Monolith, Monolith
MONOLITH MANIPLE [250]
2 Monolith, Monolith
STALKER MANIPLE [200]
4 Triarch Stalkers
SENTRY PYLON [250]
4 Sentry pylons
WARBARQUES [300]
1 Warbarque
DOOM SCYTHES [200]
2 Doom Scythe
DOOM SCYTHES [200]
2 Doom Scythe
TESSERACT VAULT [300]
1 Tesseract Vault
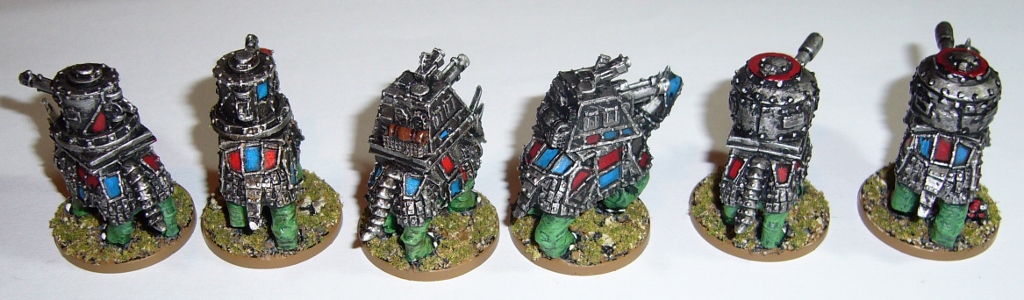
For my list I am using my Deathbot models and some Dark Realm Andrayada figures, with Microworld Grav tanks proxying for the Doom Arks.

Tau brought a mechanised Tau list, heavy in Tank firepower.
| Mechanised Cadre, 2 Hammerhead Fusion, Command Node |
| 4 Fire Warrior + Ethereal, 2 Devilfish, Skyray [425] |
| Mechanised Cadre, 2 Hammerhead Fusion, |
| 4 Fire Warrior, 2 Devilfish, Skyray [350] |
| Mechanised Cadre, 2 Hammerhead Fusion, |
| 4 Fire Warrior, 2 Devilfish, Skyray [350] |
| Armoured Cadre, 6 Hammerhead Railgun [300] |
| Armoured Cadre, 6 Hammerhead Railgun [300] |
| Scorpionfish + Xar'Shas'o [300] |
| Scorpionfish [225] |
| Scorpionfish [225] |
| Scorpionfish [225] |
| Scorpionfish [225] |
| 4 Sentry Drone Turrets [175] |
| 6 Stealth Suits [225] |
| Recon Group, 3 Tetra, 2 Piranha TX-42 [150] |
| Recon Group, 3 Tetra, 2 Piranha TX-42 [150] |
| Recon Group, 3 Tetra, 2 Piranha TX-42 [150] |
| 3 Barracudas [225] |

Turn 1
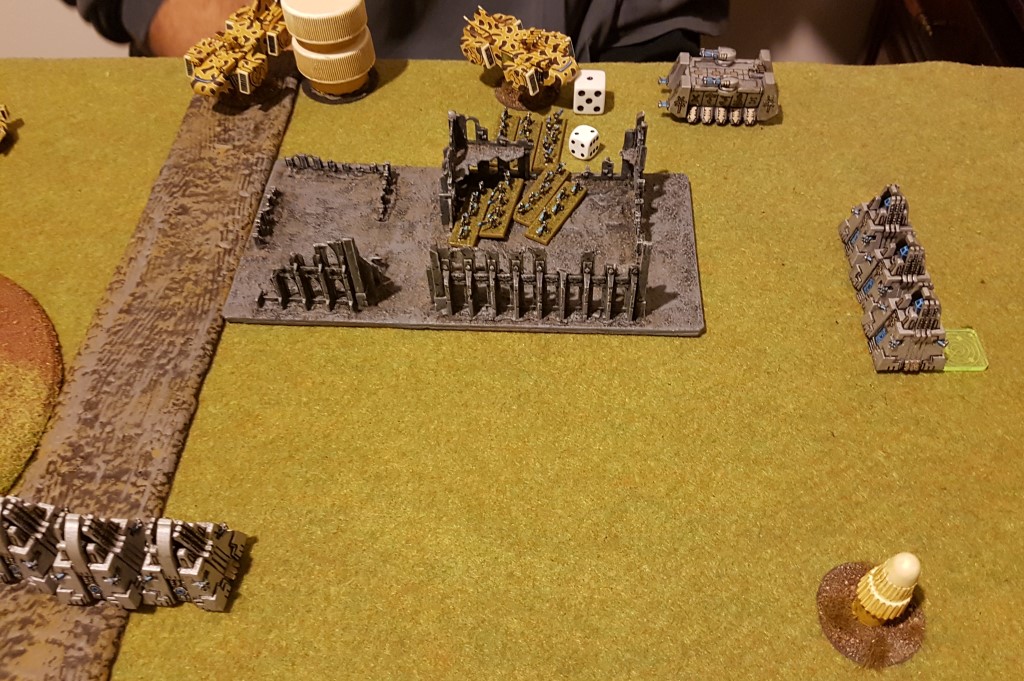
Set up! Only my Overlord and Doomsday Ark formation are on the table. The Tau have a Scout screen forwards and heavier tanks behind in mutually supporting positions. No gaps for teleporters to sneak in. Tau take and hold objectives are on the extreme flanks, and Necron take and holds I place near the Tau Blitz objective in a triangle with it.


I teleport on the right flank with most of the teleporters. The Sentry Pylons take two blastmarkers, and the Warbarque one.

I win Strategy Role, and engage with Monoliths against Scouts, bringing Hammerhead Tanks and Sentry Turrets into range to put a blast marker onto them when I win the engagement. Except I don't win the engagement, I lose and sit there broken. The Warbarque retains and fails to kill any Hammerhead tanks...
Terrible start for me, but the Tau do even worse, failing their activation with the Hammerheads despite reroll and only placing a single blast marker on the Warbarque.

My Teserect Vault (using C'tan to represent it), nukes three of the Hammerheads, and the remaining three retreat.

A battle develops in the centre as Monoliths and Necrons knock back the Scout Screen. Incoming missiles from Scorpionfish take out many of my infantry.

Stealth Suits attack my left flank but are driven back.

Having dodged my Doomsday Arks all turn, a Tau mechanised formation advances and loses half it's vehicles to them for an unknown reason.
All our planes are on CAP, Tau ready to intercept, and me because I figure I'll lose my Doom Scythes if they try to come on this turn with all the Tau AA still intact and my Sentry Pylons being broken.
End of turn, and I'm making some inroads on the right, and I've taken less damage than the Tau.


A look from the Tau position.


Turn 2
Necrons win Strategy Roll again. My Monoliths advance and firefight, breaking the Tau (now not mechanised) formation in the centre.

My C'tan damages the closest Scorpion Fish.

My last Monolith formation has teleported in on the left side of the battlefield. But it is wiped out by a single shot from Tau Recon and then a volley from Hammerheads.

My infantry is heavily targeted by incoming fire, but uses its reanimation ability to bring Necrons back and soak up fire. I realise I can wear down the Tau in a war of attrition like this.


My Doom Scythes ground attack now I have my Sentry Pylons recovered. I take out one Tau interceptor with the Pylons, and then the remaining two interceptors destroy one of the Doom Scythes. The Doom Scythe wipes out the last Tau Sentry Turret.


End of turn, and my forces are pushing into the Tau position,still having suffered few casualties compared to the Tau.


Turn 3
My Monoliths engage and break remains of a Tau Tank formation.


My Warbarque clears out the Tau Mechanised infantry neary their Blitz with a crossfire, and then my large Necron infantry formation (and Break Their Spirit formation...) portals across the board and out of the Warbarque and destroys a Scorpionfish in an engage action.
But then disastrously... these Necrons are gunned down, and a lone survivor retreats back through a nearby portal and across the board. An attack too soon for the Necrons.
On the left, my Doomscythes wipe out the remainder of a Recon formation and kill two tanks from a Hammerhead formation.

The Tanks double across the battlefield and gun down the lone survivor from my large Necron foramtion (giving Tau Break Their Spirit victory condition).

Tau engage my Monoliths near their objectives...


The Tau consolidate and hold their three clustered objectives.

Game to Tau as they achieve Break their Spirit and Defend the Flag Victory Conditions!


Conclusion
An interesting game with my first use of the Sautekh list. I over-estimated the more weakly armoured infantry and over-committed myself to an attack when I didn't need to in turn 3, losing the game in the process. If I had just been more patient, and kept sucking the life out of the Tau force, while reanimating my infantry, I probably would have won I think. A lesson for next time! I probably also had too many Monoliths for a force of this size, and not enough infantry to make use of them. But the Sautekh list has some fun options so I will use it again soon!