Sticking with the Orks, I rolled out the Gargants, using a mass of Stompas. Andrew arrived with his Vior'la Tau featuring a couple of KV129 Supremacy walkers, Riptides and a Manta.
Incompertus, 3995 POINTS
Gargant Bigmob (3.3.1 - Developmental)
==================================================
GREAT GARGANT [900]
(Kustom) Flakka Dakka, 2 Deth Kannon, (Kustom) Power Fields, Mekboy Big Boss, Mega Lobba
GARGANT [700]
2 Deth Kannon, Gatling Kannon, (Kustom) Power Fields, (Kustom) Flakka Dakka
SUPA STOMPA [325]
3 Soopagun, (Kustom) Extra Armour Bitz
SUPA STOMPA [325]
3 Soopagun, (Kustom) Extra Armour Bitz
SUPA STOMPA [325]
2 Soopagun, (Kustom) Extra Armour Bitz, Mega Choppa
FIGHTA-BOMMERS [150]
3 Fighta-Bommers
FIGHTA-BOMMERS [150]
3 Fighta-Bommers
STOMPA MOB (BIG) [385]
6 Stompa, Flak Wagon
STOMPA MOB (BIG) [385]
6 Stompa, Flak Wagon
STOMPA MOB (BIG) [350]
6 Stompa (close combat)
Tau
Kor'elan Du'a Kavaal [Air Caste Above Support Group]
Protector Class Cruiser [200]
Manta, Command Bridge, Shas'o [675]
Vior'la Cadre, 6 Fire Warriors, Ethereal, Cadre Fireblade, Bonded Team, 3 Devilfish [325]
Tiger Shark AX-1-0 [175]
Tiger Shark AX-1-0 [175]
Fighter Squadron, 2 Barracudas [150]
Mont'ka Kavaal [Killing Blow Strike Group]
3 XV104 Riptide Suits, Shas'el [350]
KX139 Ta'unar Supremacy Suit [225]
Recon Group, 3 Tetras, 2 Piranhas [150]
Recon Group, 2 Tetras, 3 Piranhas [150] [Had the wrong model mix!]
Kauyon Kavaal [Patient Hunter Strike Group]
Pathfinder Group, 4 Pathfinders, 2 Devilfish [200]
Pathfinder Group, 4 Pathfinders, 2 Devilfish [200]
Recon Group, 3 Tetras, 2 Piranhas [150]
Elan Kavaal [Support Group]
Vior'la FW Cadre, 6 Fire Warriors, 3 Devilfish, Skyray [325]
Vior'la FW Cadre, 6 Fire Warriors, 3 Devilfish, Skyray [325]
KX139 Ta'unar Supremacy Suit [225]
Turn 1
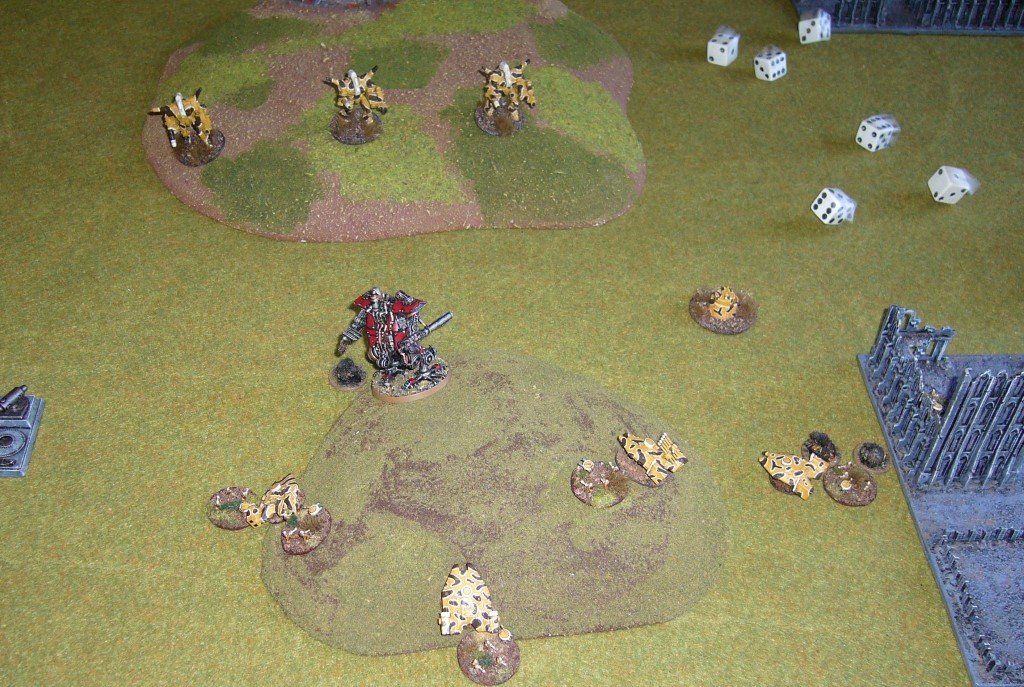
Here's the battlefield. Tau place their Take and Holds at extreme flanks, while I group mine in the middle near the central forest and ruins. I garrison two Stompa mobs forward and another echeloned back towards the Blitz objective. Tau have Pathfinders foward in the forests and ruins on their side of the board.
Another look at my positions.
Tau win Strategy Roll and open up with a co-ordinated fire action against my middle Stompa mob, which is then broken by a Tau retain action from a KV129.
A Supa-Stompa advances and fires on the Pathfinders in the central wood, killing one, and then they are routed by an engage action from the lead Stompa mob.
A Tiger Shark opens fire on the Supa-Stompa stripping its shields but missing with the Titan killer gun.
Fighta-bombas destroy the Tiger Shark losing one to its AA in return.
Barracudas fail to damage the Fighta Bombas.
The Gargant doubles forward to position itself, and fires two Deth Kannons at a KV129, doing a point of damage.
The next Tiger Shark damages the Supa-Stompa with 3 damage. it breaks and runs into the woods ahead of it.
Riptides jetpack forward and back and destroy the damaged Supa-Stompa.
Fighta-Bombas shoot down the last Tiger Shark, again losing one of their squadron in the process.
The Great Gargant doubles forward firing it's guns at a KV129 in the distance but missing. The KV129 breaks due to weight of fire though. My other Stompa Mob engages and destroys a Tau Recon formation that had rushed up to fire on my broken Stompa mob (and having killing 3 of them).
The Tau spacecraft arrives and together with the Manta they destroy the Stompa near my Blitz.
The transported Fire-warriors double behind me and destroy the last broken Stompa.
End of turn.
Everything rallies.
Turn 2
Tau concentrate much fire on the lead Stompas, including the Riptides retaining with crossfire, but they only kill a single Stompa!
The Stompas taking advantage of their good fortune engage the Recon formation in the forest.
But their luck has definitely run out as they roll double one for combat resolution, and the Recon a six. All Stompas are wiped out having only killed two Recon units...!
The Supa-Stompa on my left flank doubles and breaks a KV129 and puts two blast markers on the Riptides also.
The Tau open fire on my next Stompa formation killing one unit and placing three blastmarkers. My Great Gargant doubles and fires on the Manta, doing a huge 7 TK damage, five of which cause damage and knock out its deflector shield.
My Stompas engage the Fire Warrirors behind them. Two of them are in close combat and one in firefight range. They win the combat by only one as the Great Gargant is too far away to provide much support unfortunately.
The next Gargant doubles to the central forest and objective and also fires at the Manta.
The Gargants Deth Kannons miss, but a Gatling Gun shot does a point of damage and the Manta breaks and falls back.
Turn 3
Orks win Strategy Roll. The Gargant wastes no time and sustain fires at the Manta destroying it and achieving 'Break Their Spirit' victory condition for the Orks.
The Great Gargant retains and engages and destroys the Fire Warrior unit and secures its own Blitz.
The Supa-Stompa over on my left flank is ganged up on, damaged and broken. (Fluke photo of dice in flight...).
Fighta Bombas eliminate a Recon formation. But I am out of activations. Andrew counts up his remaining formations and he has 7 of them! Just enough if they all activate well enough to break the Gargant with Blast Markers... which they do!
Game Over 2-1 to Tau, with 'Take and Hold' and 'Defend the Flag' victory conditions to 'Break their Spirit' to the Orks. The only unbroken ground unit I had was a Great Gargant.
Conclusion
Well played by the Tau. After my Stompa evaporation on turn 2, I was aiming for a victory points victory, feeling semi-confident that the Gargants could hold on with the Manta and Tiger Sharks eliminated and maybe able to win an attrition war. However Andrew had targeted down the weakest units in succession, so that in the end I just didn't have enough left. Well done to Tau. Not sure the Stompas are a good choice over the Supa-Stompas as without fearless ability they die very quickly once broken. I think my 4K list with extra Gargant and two extra Supa-Stompas is scarier!